
I’m back with yet another awesome sharing time from my Technology in Music Education lecture!
The focus of the second lecture was really interesting because it dealt with different types of microphones and the way they can be used in variety of contexts. Naturally, we also discussed the implications of using these mics in an educational setting which was all quite fascinating to me. In the past, I was always very lucky to have had good sound engineers whenever I would perform either as a violinist or vocalist. They would tell me to play or sing into the microphone in front of me and I always gladly obliged. Words like ‘the mic is hot’ or ‘feedback’ would fly past me but really I wouldn’t have been able to tell you the difference between a hot mic and a hot potato. At least not until now, of course. I’m basically an expert now.
The summary of the whole 2h lecture was that there a three types of microphones, each built for a specific purpose and with a different sound production. I will discuss only the two that we explored in greater detail. An important thing to remember with mics is that no one mic is necessarily better than the other. They all serve a different purpose and work best for different settings.
The first type is called a dynamic microphone and it is the oldest and the most common of the types. This bad boy lives up to its name because it is built to withstand all kinds of dynamic situations like earthquakes so it juust might survive a year 7 or 8 music classroom. 😀 In all seriousness though, these mics do make a great addition to the classroom not only because of its durability and robustness but also because of its relatively inexpensive price. Check out the Beringer dynamic mic here!
They are also meant to be used in live settings because they don’t catch a lot of the background noise, making them a great piece of equipment for classroom gig sessions or school concerts and talent shows.
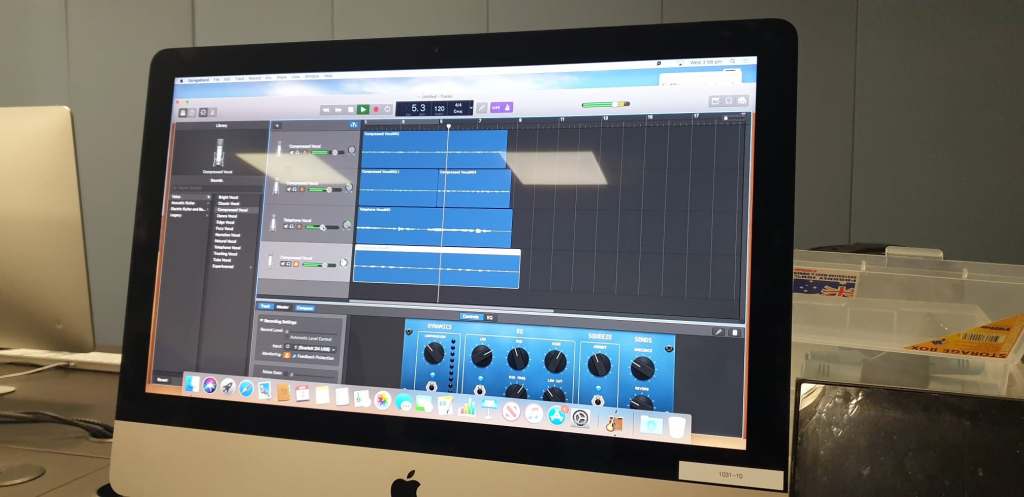
During the lecture, we were split into groups and experimented with using these mics while layering tracks in GarageBand. We also made sure to use headphones while recording in order to eliminate any unwanted background sounds. The end result was a pretty sweet rendition of ‘The Lion Sleeps Tonight’. Have a listen!
Unfortunately, no one is perfect and that includes our dynamic mic. Its diaphragm (see the video below for more explanation on how these microphones are constructed) is rather heavy which in return doesn’t respond to sound waves quickly and therefore has a limited response to higher frequencies.
This is where our condenser microphone steps in. It is much more sensitive and fragile. It also requires internal or external power sources (battery or electrical cable), unlike dynamic mics. The price of this mic is relatively high which might not make it a popular choice for teachers who work on a limited budget. However, the reason why this mic is quite impressive is due to its greater high frequency range, making it a go-to for studio recordings.
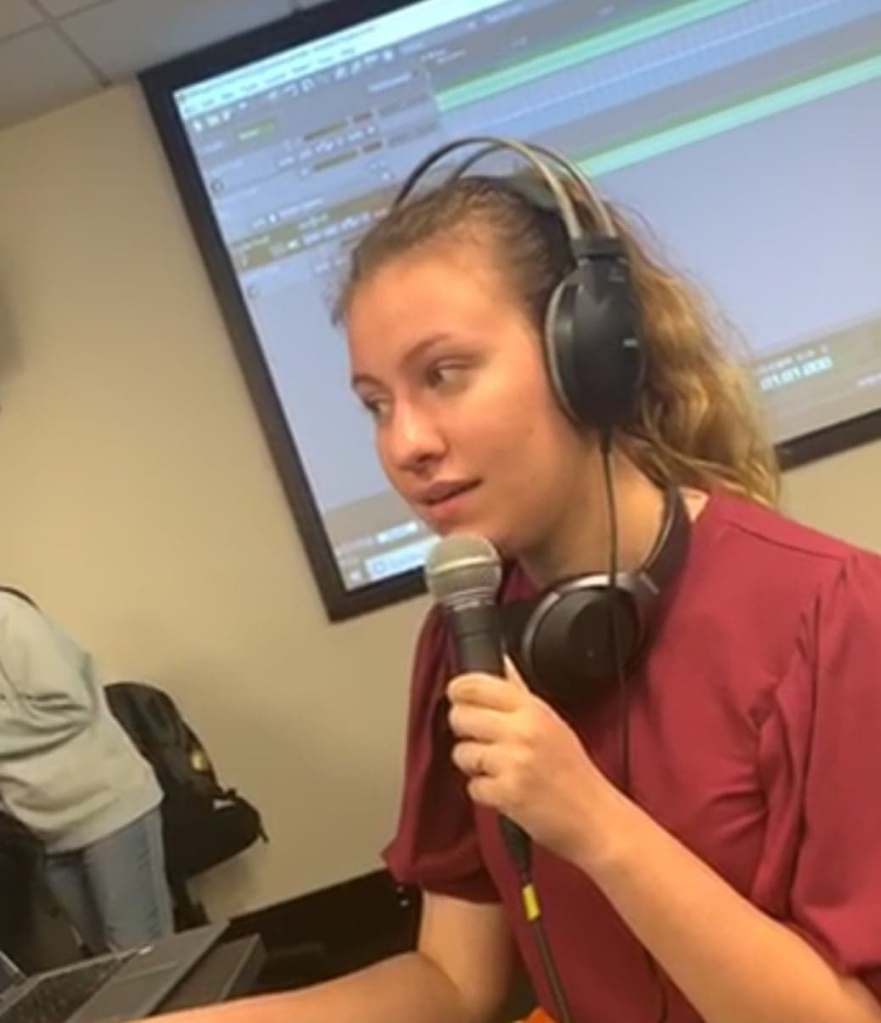
The second half of our lecture was focused on recording our speaking voices through condenser microphones in GarageBand and trying to mess around with different effects and EQs. The microphone used in the process was Blue Snowball Ice which is actually quite affordable and relatively durable for a condenser mic. Here it is if you want to check it out. I am planning on buying one myself and testing it out soon so look out for a future review post coming up in case you’re thinking of buying one yourself!
Until then, keep calm and mic up.
Equipment used for plugging the dynamic mic into the computer:
- XLR male to female cable
- Focusrite Scarlett audio interface (channel 1)
Feature photo by Lee Soo hyun on Unsplash
