

No, unfortunately there won’t be any snowman building described in this post as I am currently looking outside my window at a beautiful Australian autumn day of 29 Celsius degrees. So I guess I should apologise for, as the cool people of the internet say, click-baiting you. Run along now and don’t forget your mittens you so enthusiastically brought along.
If, by any chance, you’re still here after my clickbait, let me try and slightly justify myself by saying that there will definitely be some talk of midi instrument building and building *things* in general because this week’s focus was on the Maker Movement!!
I might sound a little bit excited but honestly, this is a very exciting project that many more educators should know about and implement into their classrooms. I will preface the rest of my post by saying that this topic is something that myself and my group project partner (Lucy!) have decided to further explore in our big project/assignment for the end of the year. I will be documenting every step we take towards realising this project on this blog so, as I said many times before, stay tuned. 😉
Now, if you haven’t heard of what the Maker Movement is, here is a great video showing a range of projects across Australian schools and amongst Australian young students. It is quite inspiring and personally, proves to me that children are capable of doing and creating sooo much more than what we give them credit for.
As you can see, the Maker Movement provides young students the ability to involve themselves into physically building and exploring a range of things, whether it be woodwork, making knives (so good!) or coding and creating midi instruments out of everyday toys. It really can be anything! The philosophy behind it is very interesting and can be a great space for students to find their confidence, build new skills and their sense of agency. I don’t want to sound like one of those people who complain about the perils of technology (which would also be ironic considering the theme of this blog 😅) but the fact is that with the rise of technology, young students are at risk of losing certain aspects of their childhood that some of us, who still remember a time where technology *insert overly dramatic voice* didn’t rule us all, got to experience as children. It is, therefore, incredibly important for children to be able to build and tinker and get to use not only their minds but their hands as well. And what’s even better, the students can involve themselves into building projects that still involve technology! So it all comes full circle! 😮
During the lecture, we were very privileged to have Phil Nanlohy join us in discussing the wonderful work he does in running a Makerspace in one of the primary schools in Sydney’s West. James, our lecturer, conducted an interview with him in which we were able to get a good understanding of the logistics behind needing to organise and run a Makerspace. We as a class also had some time dedicated to ask Phil questions about organising a Makerspace. He was kind enought to create a question and answer sheet for our further reference and I would like to present a few of Phil’s answers which might help to explain how one might go about in creating a Makerspace within a school.
- Q: Do you need extensive resources and funding to start a MakerSpace? A: “No but this is related to the scale of what you want to set up. I had a large setup budget of $25k that all had to be spent quickly. It was actually difficult to spend and we bought resources that were not used for a year or two. It is better to have a more modest setup budget and an ongoing allocation for consumables and for tool purchase or replacements. This assumes that budget will be available if the initiative is scaled up. Our initial purchases focused on safety gear, child appropriate hand and power tools, secure and flexible storage and an industrial vacuum cleaner.”
- Q: Presumably even on a budget you do need some tools and materials? What would you suggest are good first things to budget for? What can people get/beg/borrow that is very cheap or even free? A:”What tools you collect depends on what type of artefacts you intend to make. If you are creating a digital MakerSpace then scrounge the school’s IT store. Digital resources age quickly and your students may have the skills to resurrect recently retired hardware. If you want to make an analog MakerSpace in a Secondary School context then the best place to start is with the students who will be using the tools. If they bring their own tools then label them with their name and keep them in a bag that stays with the student. If there used to be a TAS department in the school go looking in the cupboards. There may be tools left over from the days of woodwork and metal work. If this threatened species of teacher is still to be found in our school then talk to them about your plans. Get started but then get a budget. If you don’t have support from the executive put your energies elsewhere.”
- Q: Do you have any advice for a music teacher looking to create connections to STEM in their programs? A: Make instruments. There are lots of possibilities that can be constructed in a single lesson. Invent new ways to make sound or construct folk instruments such as were made in the communities of the poor. We made some of John’s marimbas but we were not able to tune them and they were never played. A music teacher’s expertise as a performer and as a player of an instrument would be central to imagining how making something that can make joyful sounds could be woven into their teaching practice.
It is Phil’s last answer which caught my attention during the lecture and my gears began to turn as I thought of some possible ideas on how to incorporate the Maker Movement into my end-of-the-semester project. I knew that if I were to do it by myself (or in a pair), there wasn’t going to be enough time or resources to design relatively large and complicated project so it had to be doable and simple enough but still practical. This is where my partner Lucy and I decided to try and create a unit of work which would involve the students building actual instruments. In fact, it would be instruments from every instrument group (or most, let’s not get TOO ambitious now 😏). I won’t go into many details at this moment about the project as that will have its own little special place on this blog (as I’ve already mentioned and it’s coming soon!!).
Meanwhile, James gave us a little project to do towards the end of the lecture which involved finding some garbage lying around your house and quickly constructing some kind of an instrument. Lucy was quick to start thinking of making some reeds out of random house materials and this is what she came up with:
I have tried to copy her design but with some slight modifications she made. This reed was in fact made out of plastic, taken from the packaging of a hot glue gun and this is how it ended up looking and sounding:

My materials. Yay for Reverse Garbage! 
A bit rough around the edges but it works! 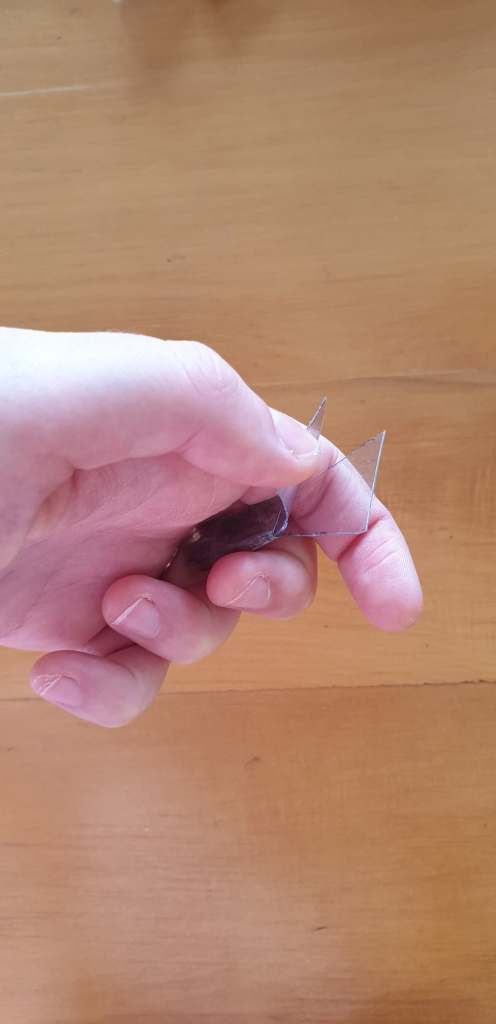
It’s so flappy!
As you can see, I didn’t have too many problems in actually making a sound which was my initial worry considering that I am not a reed-instrument player and don’t have the appropriate embouchure. I will discuss the whole making process in more detail on the upcoming post but until then, marvel at my lack of knowledge about how reeds work as I tried to glue the two parts of the reeds together without realising they needed to be flappy and open:

Failed reed numero uno. You can see the glue stains… 
Failed reed numero dos. I taped that reed good… real good. 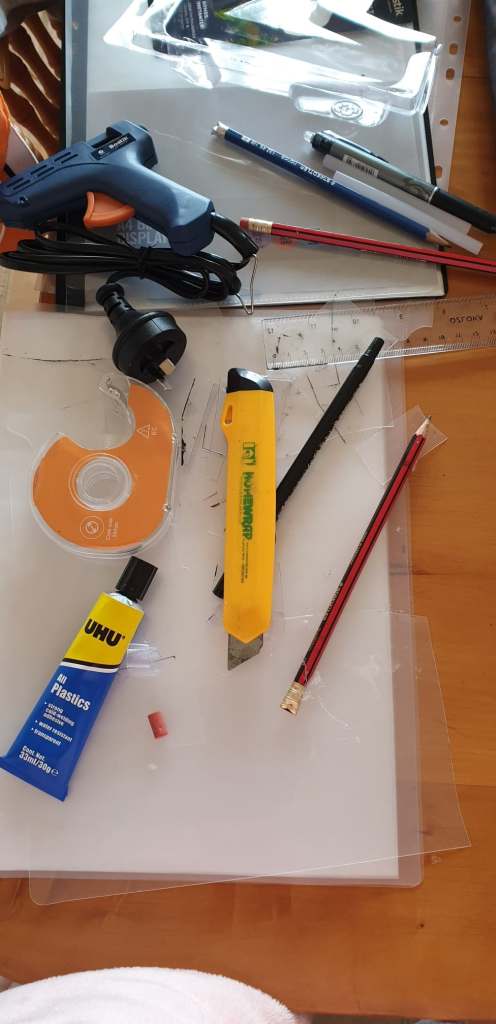
The state of my table as I tried to figure out how to make reeds out of plastic.
I would like to end this week’s post by sharing with you lovely people some really interesting electronic toys which would definitely be adjustable in a Maker Space! This is the list that James shared with us so no credit to me for finding these websites! Nonetheless, do check them out, they really do have some incredible kits to buy and if I were not a pauper student, you can bet your bottom dollar that my monies would be all spent on these kits! Here they are:
- Bare Conductive Touch Board starter kit
- Makey Makey
- BBC Micro
- Scratch Picoboard
- Arduino starter kit (this is an updated and slightly better kit than the one I bought)
- Jaycar short circuits kits (includes things like building guitar effects)
- Jaycar Theremin kit
And here is a video of what you can do with Bare Condictive Touch Board starter kit:
I hope you all have a lovely week and until next time, keep musicking and technologicking 🎶💻
*Also, please do check out Lucy’s AMAZING blog! I am linking her newest blog post HERE which also talks about another project that we worked on together (which I will discuss in more lenght in my next post).

One thought on “Week 8: Do you wanna build a snowman (that is also a midi instrument)?🎶”