
*Make sure to check out Lucy’s blog where she goes into more details about making the website and the Facebook page!*
Once Lucy and I have finished building our instruments, it was time to create all the resources! Lucy has already began creating a website for our instruments by using Wix as the domain. We have contemplated on maybe trying Square Space but it wasn’t free and as poor students, all we want is free stuff haha! 😅 So instead we opted for Wix as Lucy was quite familiar with it already and personally, I liked the design choices it had to offer more than WordPress (yes I know, where is my loyalty??). I have gotten to editing the page a little later in the game but there were a few things that I needed to make sure was done.
The two main pages which I tried to write out were the Cross-curricular and Safety pages. For the first one, I made sure to go trough the English, Mathematics and Science NSW syllabus for stages 3 and 4 and find some connections across different subjects. Even though I knew that there was definitely some overlaps, the more I read through these documents, the more I realised [WARNING getting philosophical] how useful hands-on projects could be for education. Just drawing from my own experience of creating and building instruments, I can tell that the benefits are immense. The students get the opportunity to apply knowledge they might be learning in the classroom. They may get opportunities to work in groups and learn proper communication skills. They can build projects on top of projects but most importantly, the sense of pride and achievement makes all the extra effort worth it! I can definitely attest to this :D.
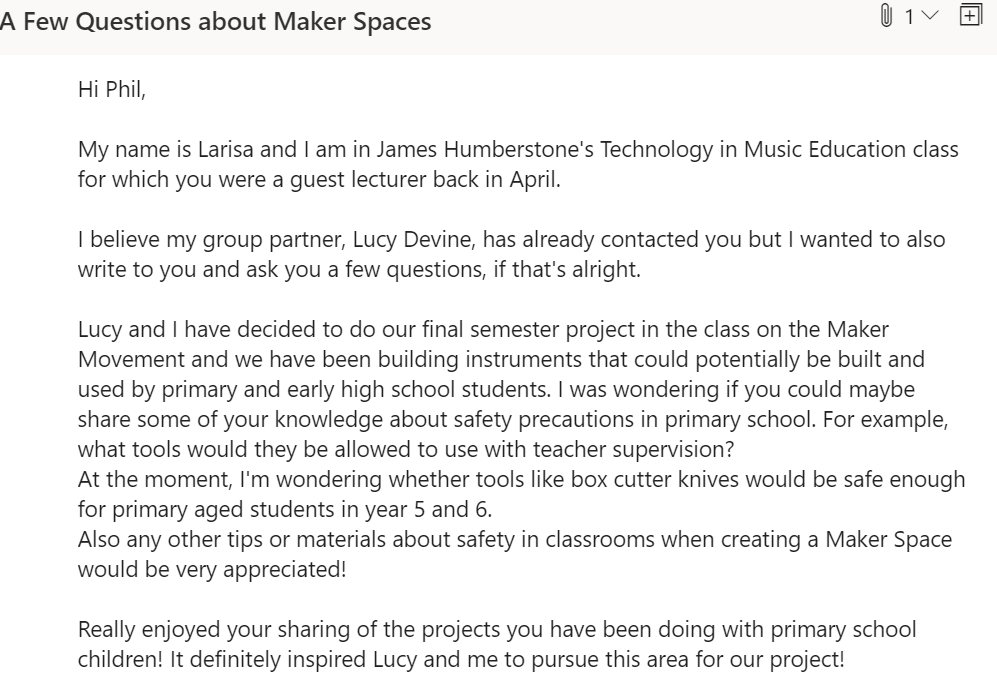
The second page I made sure to prepare was the one on safety. This was something that Lucy and I definitely wanted to include as the instruments we were designing were always meant to be built by students. Unfortunately, this was a forethought for the most of the project so only when we putting in the final touches to the website did we realise that we haven’t properly addressed safety steps for teachers wanting to implement our resources. I suggested to Lucy to try and contact Phil Nanlohy, the guest lecturer from when we discussed the Maker Movement in class. This was my email to him:
Phil was absolutely amazing and answered back so quickly with many interesting points. However, because there were too many to write down, he actually suggested to have a Zoom meeting with both Lucy and I and answer any questions that we might have! I couldn’t believe he was willing to share some of his time and incredible experience with two students. Both Lucy and I were incredibly grateful and made sure to ask as many questions as we could in order to make sure that our resources on safety were correct and applicable.
There were quite a few tips that Phil pointed out during our meeting, some of them being extremely helpful when needing to decide what tools to use in a classroom setting. Here are a few pointers that I have managed to jot down during our meeting:
- The students can’t just grab materials. They need to be properly prepared and organised before any building is undertaken in the Maker Space
- The projects need to be broken into smaller steps and processes.
- All materials that are being cut by the students need to be secured by tools such as clamps in order to avoid further injuries.
- A substitute to a box cutter knife (as they can be quite dangerous for students to use) could be a scissor-like tool from a brand called FISKERS. You can check them out here!
- Make sure that each project has at least two students working on it.
After the meeting, Phil sent out an email to Lucy and me with written down instructions and rules. Because they were so detailed and effective, we decided to credit it and put it down on our Safety page on our website. However, hopefully Lucy and I will be able to have some of our own experiences to share in the future! 😊
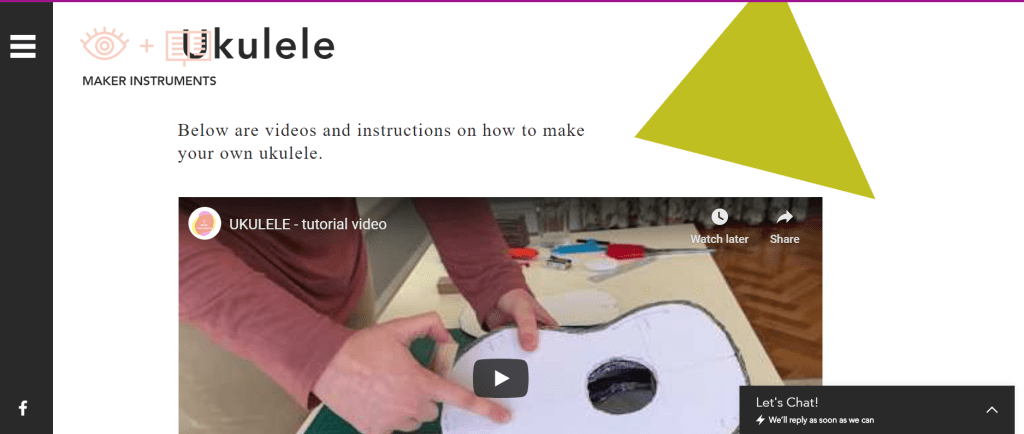
A few other parts of the website that I made sure to finish were some of the repertoire arrangements. Lucy and I have also worked tirelessly to edit our tutorial videos and write down step-by-step process of making the instrument. I also needed to provide stencils for the ukulele so I made sure to draw them out and present them in a PDF form which then can be printed out and used directly. This is how my ukulele tutorial page ended up looking:
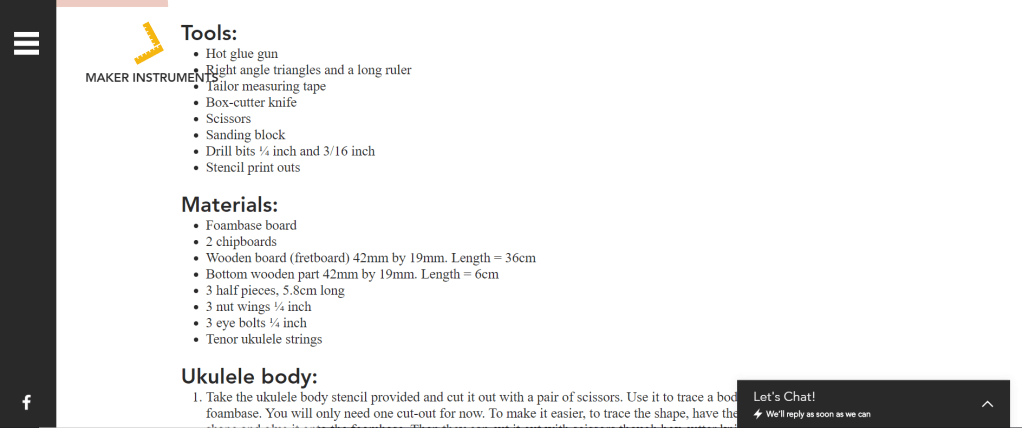
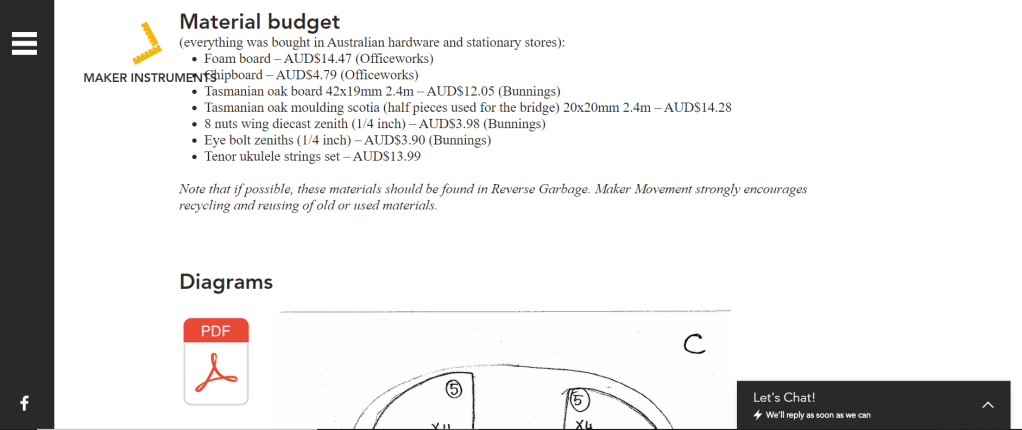
You will notice that there is also a budget list which of course will vary from person to person, especially if Reversed Garbage method is used. However, it still provides the website visitor with enough information on how budgeting might look if they wanted to try it themselves, or better yet, if teachers wanted to test it out in their classrooms.
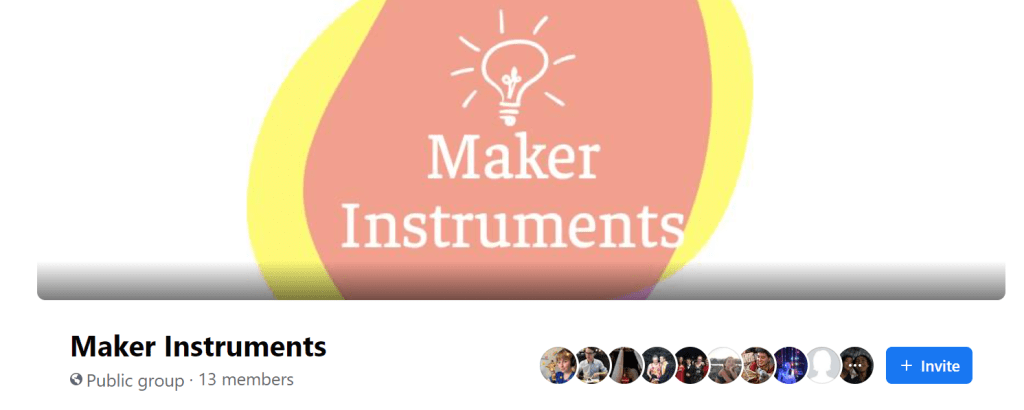
Next thing that Lucy has also started was a Facebook page for the purpose of not only sharing all of our projects but also of other people/students potentially sharing attempts of making our instruments. The space could also evolve to something bigger (one could even say a movement 😉) where group members could share their own ideas and designs about instrument making. This is how the page looks like:
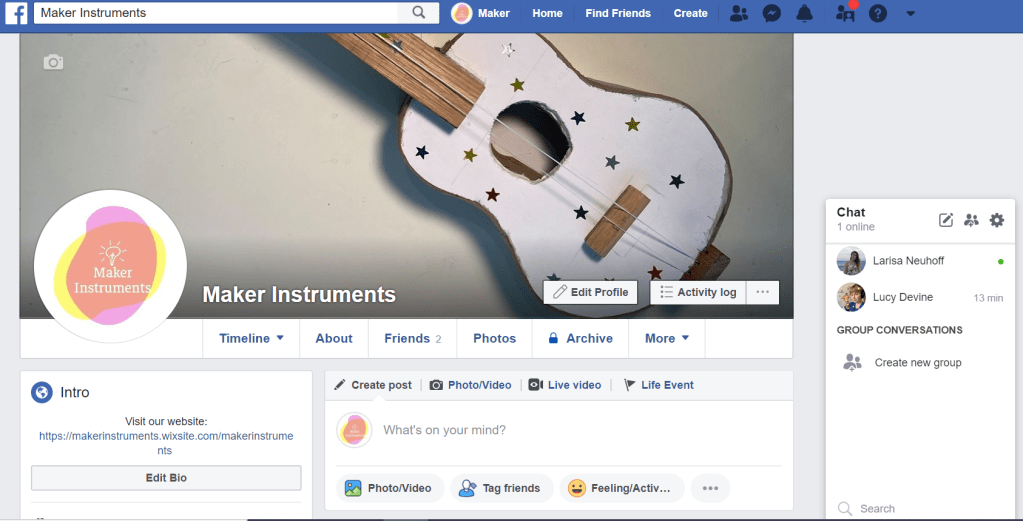
We have already shared a few videos from our Youtube page with the group but mostly left it alone for a few weeks while we were trying to finish our website. However, today I decided to share the group with a few family members and Music Education peers. And the group already has 13 members! Woo! If you’re reading this post and you happen to not be a member, join now, enjoy and share the love for making instruments! 😊
In the next post I will discuss the filming and photo shoot process that Lucy and I undertook for creating all the tutorial videos and website photos so stay tuned! 😀
