
If you have seen some of my older posts, you would’ve noticed that I have taken to learning how to play the ukulele. And because I have been so excited to learn another instrument, my decision on what to build for Lucy and mine’s TME project was very clear. Of course it was going to be a ukulele!
I didn’t, however, choose the ukulele JUST because. There were a few reasons for it:
- It had a small enough body and shape which would be easily made out of everyday materials
- I (kinda) knew how to play it
As I’ve talked about it in my previous post, I have managed to find two designs which were an inspiration on what I was about to do next. I knew that if I wanted to have a functional instrument, I had to use real ukulele/guitar strings. But I was also aware that if I wanted to avoid using any dangerous power tools, I had to make sure the materials were bendable and easy to cut with scissors. One part of the ukulele that I was ready to copy from the cigar box guitar was the fret board. I thought that using a wooden plank of some sort with proper screws and bolts would provide the necessary stability the strings needed. Creating a fret board out of any material which wasn’t solid would’ve not work properly. To be fair, there might be a way to create a fret out of softer materials but I didn’t have time to try and figure that one out. Future project maybe?
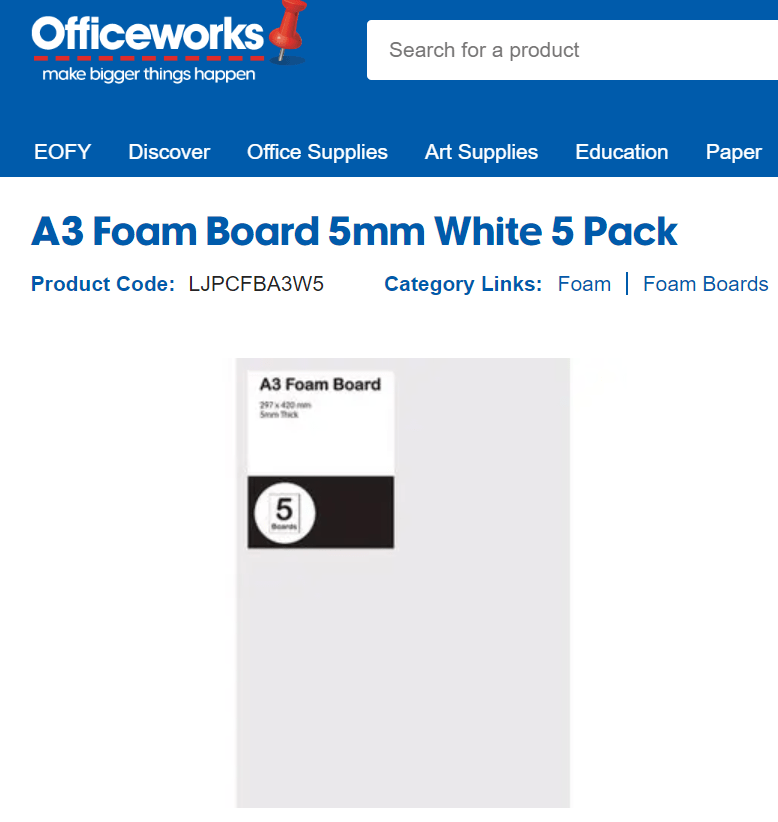
Cardboard, unfortunately, was out of the question,. I very quickly found that it was too soft and it wouldn’t be able to withstand the tension and pressure of the strings. Lucy suggested to maybe try and look at materials like foam core. I’ve taken it into consideration while making a list of possible materials to buy and then it was off to Officeworks. I did end up finding a foam core board which seemed relatively sturdy:
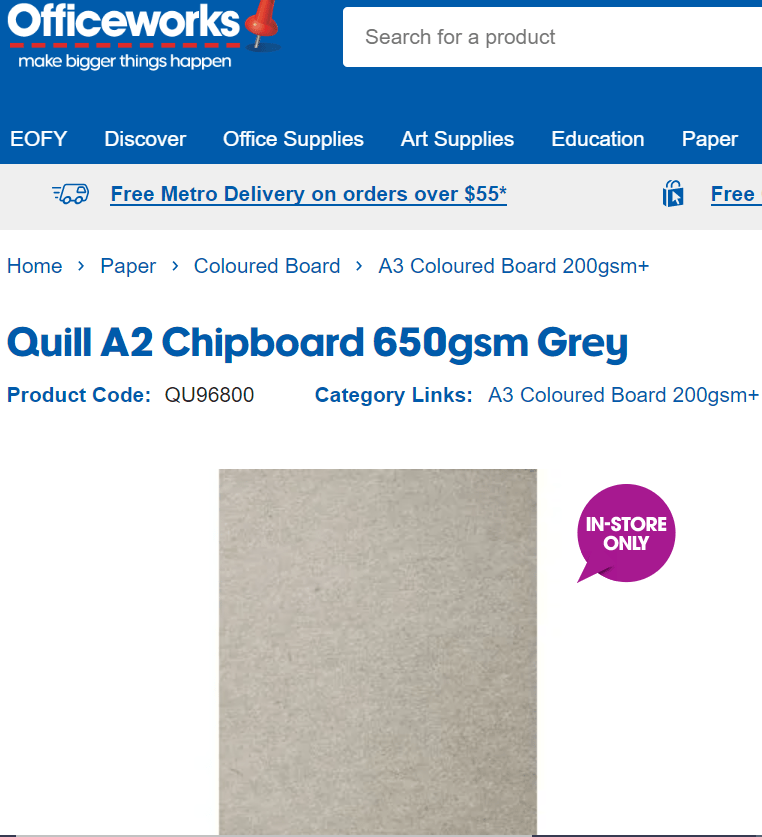
However, I wasn’t convinced that foam core was going to be the best choice for the whole body of the ukulele. So I began searching for a material like cardboard, but slightly harder. And thankfully Officeworks, the magical place that it is, rescued me by providing me with some grey chipboards:
I also ended up buying some hot glue and a few cutting tools, like a box cutter knife! I was pretty happy with my purchase so I paid for the materials and went off to Bunnings to buy some freboards!
For the fret, I was trying to follow the instructions from a written tutorial on how to make a cigar box guitar found on the Instructables website here. If I had more time, I would’ve tried to come up with a better design for the string holes but for now, this needed to do. I ended up finding a wooden board that was the right dimensions to make the fret comfortable enough to hold. The board was over 2m long but this wasn’t a big issue as I was able to get it cut in the hardware store. Unfortunately, I didn’t know what dimensions I needed so I got myself a small handsaw which was also safe enough to use by younger students. I also ended up getting some eye bolts, nuts and drill bits and that was it for my whole shopping day.
This whole preparation took place a week before I was ready to make the instrument. However, once I decided on what dimensions might work for the fret board, I got to cutting (or better said, my husband got to cutting):
But oh boy, the fun part is only about to come because once I decided to finally attempt to build this ukulele, I still wasn’t sure how it was all going to work. One thing I had certain, other than the fret, was that I wanted the top and bottom part of the instrument to be foam core as it was easy to cut. I decided to trace my ukulele, Rosie, onto the foam core board but soon realised that the actual shape might be too long.
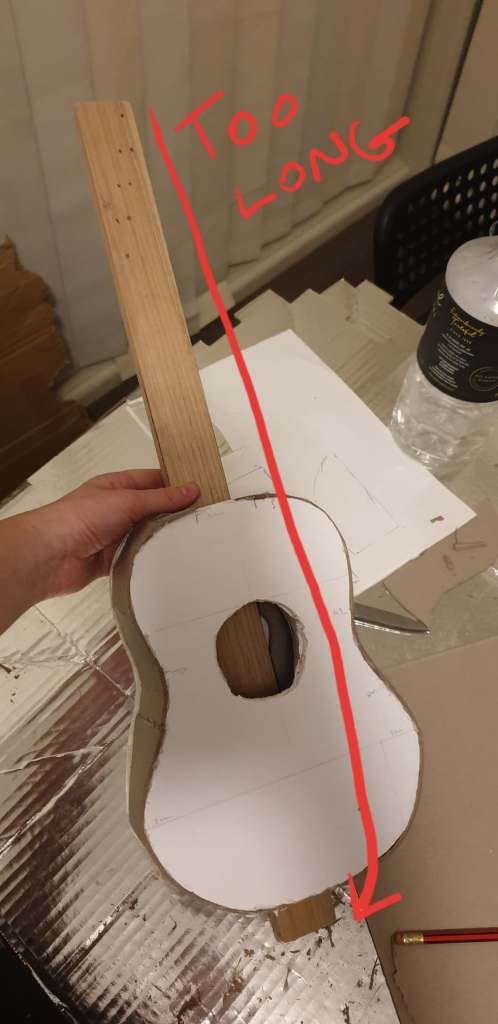
The holes on the fret would be too far from the bottom part so I needed to try and shave off some length from the bottom part. I ended up using a compass and protractor to help me measure out the angles I needed in order for the shape to be even.
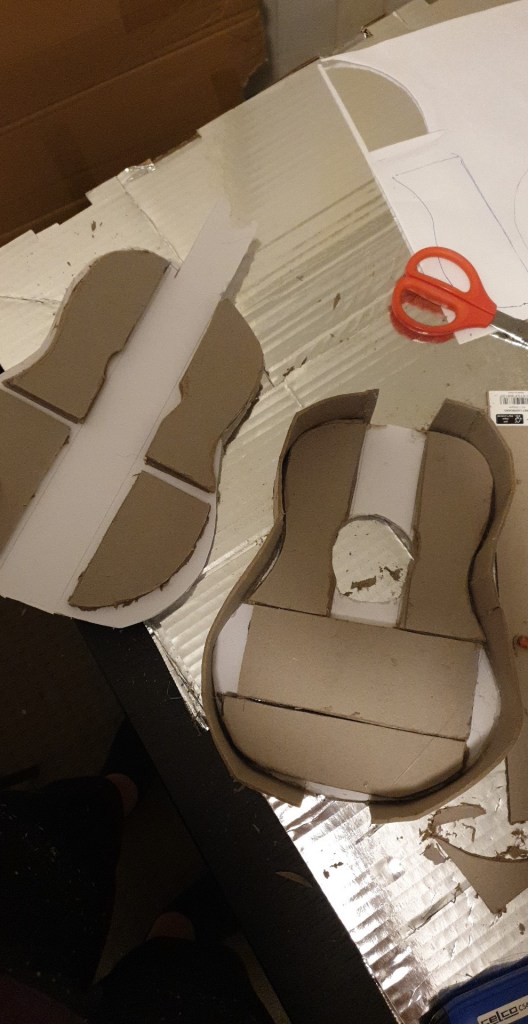
Next thing I needed to do was cut out the shape out of foam core. I also decided to use chipboard for the sides of the body as it was bendable enough while still maintaining a sturdy structure. This is how it ended up looking in the end:
I decided to cut the top and bottom for the ukulele but once I started assembling the body, I realised I needed to trace the ukulele for the bottom part. The chipboard created an uneven shape and the foam core part also needed to be slightly bigger than the top in order to cover the chipboard like so:
Once I had the main body figured out, I realised that I also needed a hole on the top part. I tried to use the measurements of Rosie. When I was first trying to draw the circle, I didn’t actually have a compass (the tweaking of the ukulele body length was done later on) so I looked for a circular object which had an approximate diameter of 6 cm. Once I traced it on, I ended up cutting the hole with a box cutter knife.
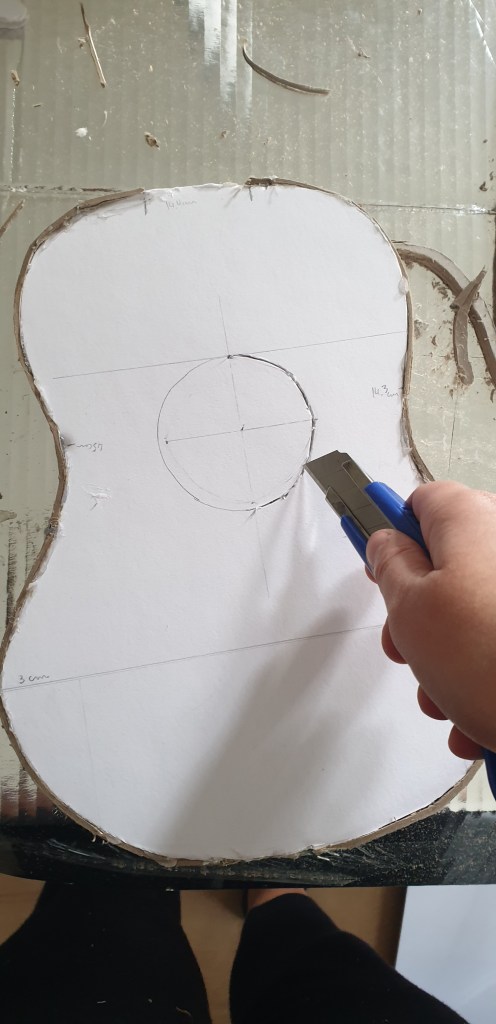
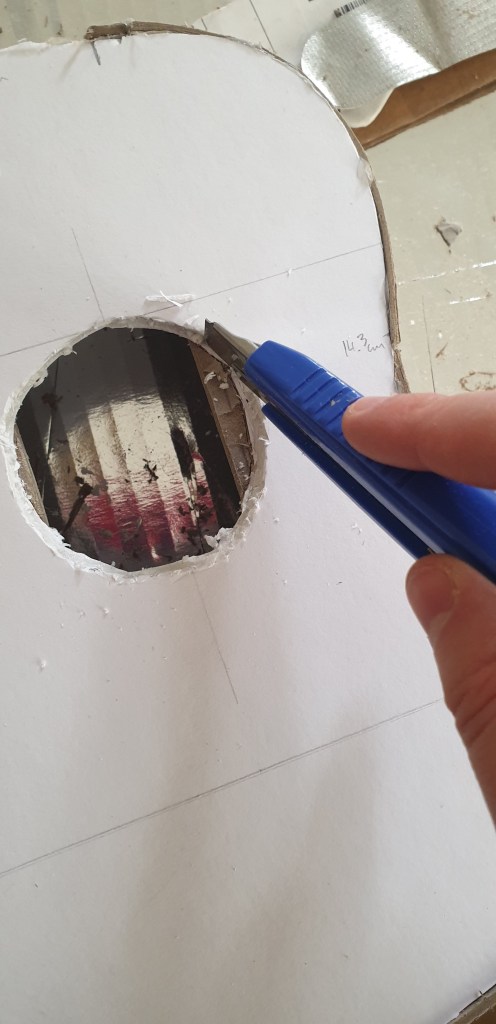
I also sanded off the hole with a makeshift sander (read: a foot filer part that I broke off of a foot filer).
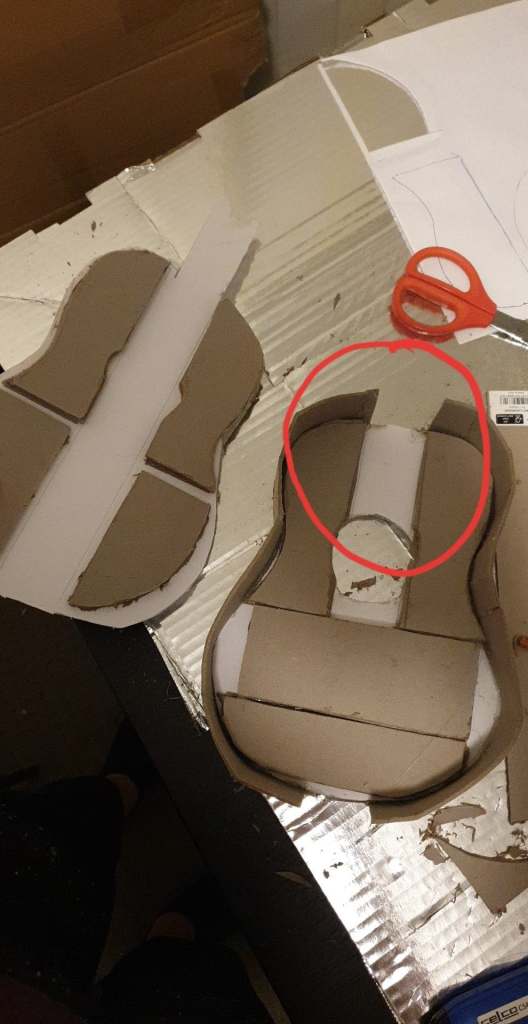
I was about to glue the body together but I was still worried that it won’t be sturdy enough for when the fret goes on top. However, while I was re-watching the cardboard guitar video, I noticed that the design included small parts on top of the top part which provided extra structure. I decided to do the same except on both the top and bottom parts.
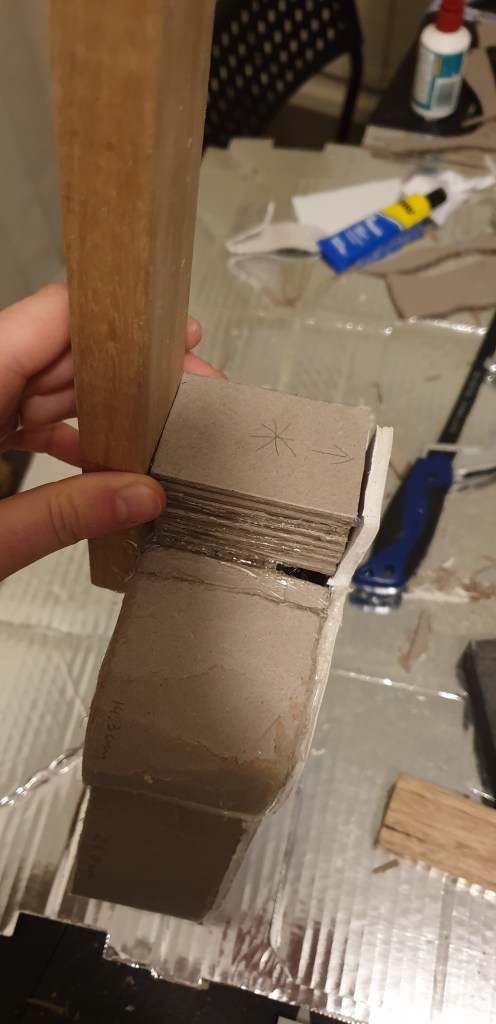
The shape of the parts didn’t matter as long as it covered the area I needed covered. As you can see from the picture above, however, the right body part had the top with no reinforcement which would prove problematic for the fret. Originally I thought of sliding the fret inside the hollow body (which you can see in the picture at the beginning of this post) but I soon realised that wasn’t going to work really well as the glue wouldn’t be able to hold it properly. So what I did instead was cut small rectangles to cover the bare area which ended up providing further support for the fret.

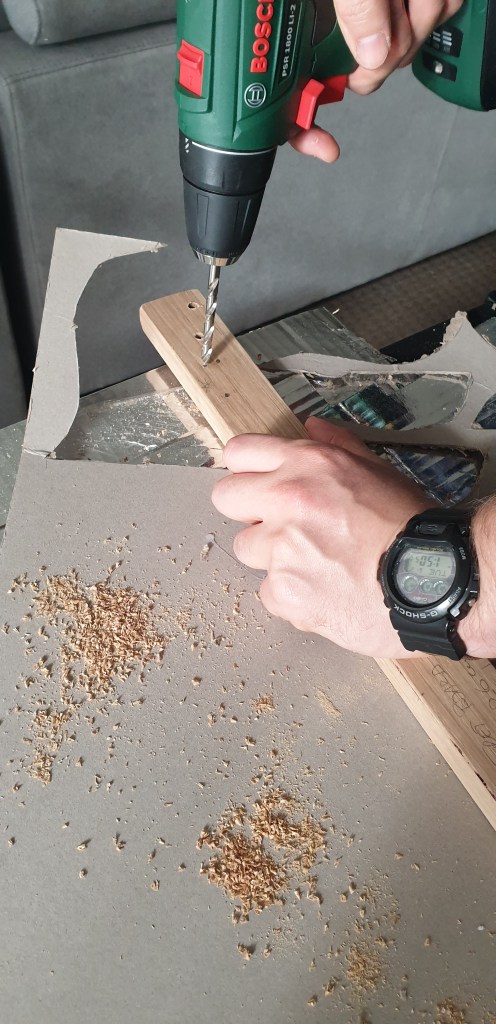
Once I was sure that the body was well reinforced, I glued the top and bottom parts together and glued the fret on top of it, but not before I drilled some holes, again with the help from my dear husband.
I wanted to have four strings but I couldn’t find a way to fit them all. This is something that I would like to explore further if I have the time to come back to the design.
In the end, the ukulele became three-stringed and that was fine! It would still be able to play chords but I just needed to figure out how.
However, my journey towards finishing building this instrument wasn’t over yet as I needed to actually put the strings on. I decided to leave it on for the next day as I was a little scarred of it all falling apart. 😬 THANKFULLY, once I gathered the courage, put one string on and made sure to tighten it with the eye bolt screw, it actually WORKED!!!🎉🎉🎉 I couldn’t believe it!
This is how the final product ended up looking:
There were a few things that I needed to add in order for the string to produce a proper sound. As you can see, I used half parts, cut them up into 6cm length pieces and stacked 3 of them on top. I had to experiment with how many I needed as I originally started with only 1 which didn’t provide enough stretch and tension for the string. The second part I added to the ukulele was at the top of the fret which I cut to match the width of the fret. At first I thought I needed it but I soon discovered that the pitch difference between the open string and playing first finger close to the nut was a minor 3rd. In order to make the pitch difference a semitone which you would find on any ukulele/guitar, I needed to take out the little bridge part.
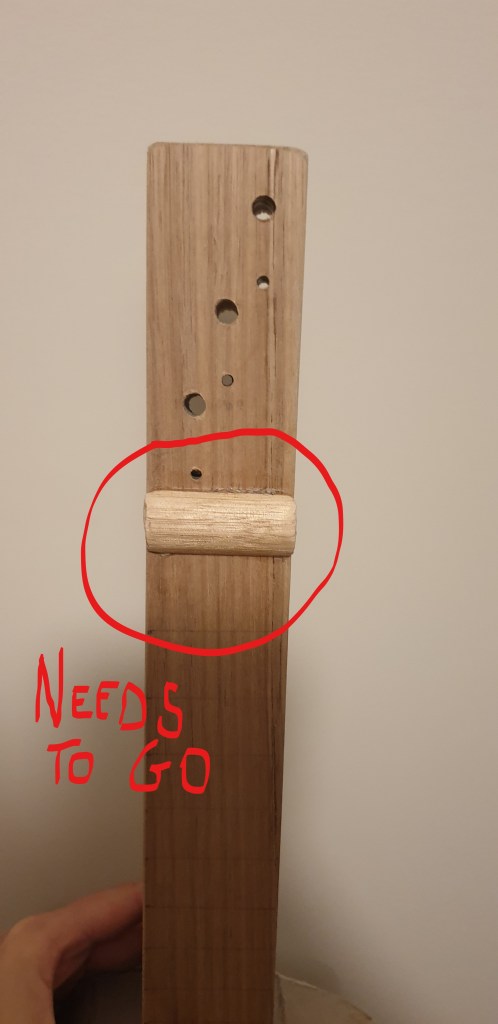
Thankfully, once I’ve made those little adjustments, the ukulele was working great! However, I was still worried about the stability of the fret so I went back to my ukulele Rosie and tried to study where the reinforcement for the came from. I noticed the little bulge around the bottom so I tried to recreate it on my makeshift ukulele. This seemed to really do the trick!
Finally, I was happy with the design and decided to finish off there. 🙂 Even so, there were still a few design issues that I wanted to try and improve on for the future:
- I wanted to test out the possibility of 4 strings
- I needed to try and test out how the fret markings will work and where
- I needed to find a better bottom piece of the fret than the one I had as that one was too short and would easily snap off once I tried to put on the third string.
Overall, it was a long process, riddled with problems and worries but also extremely awarding and exciting! It has been a long time since I felt so proud and accomplished with something I’ve built and it further reminded me and affirmed to me that this project that Lucy and I were undertaking has the potential to bring enormous value to students’ learning experiences.
If you would like to check out how the ukulele sounds when played, check out Lucy and mine Youtube channel which has all of our instruments on it! 😀 I will discuss how we came to build the resources for our instruments in the next post but until then, enjoy the instrument show haha 😁
