
OUR WEBSITE IS LIVE! Make sure you check it out where you will find all the tutorials, detailed instructions and resources on how to make your own instruments! 😁😃🎉🎉🎉
We filmed some tutorials and it was awesome. And even though I am not writing on the day of when the shoot took place (as you can probably tell from the date), it is all still very fresh in my mind.
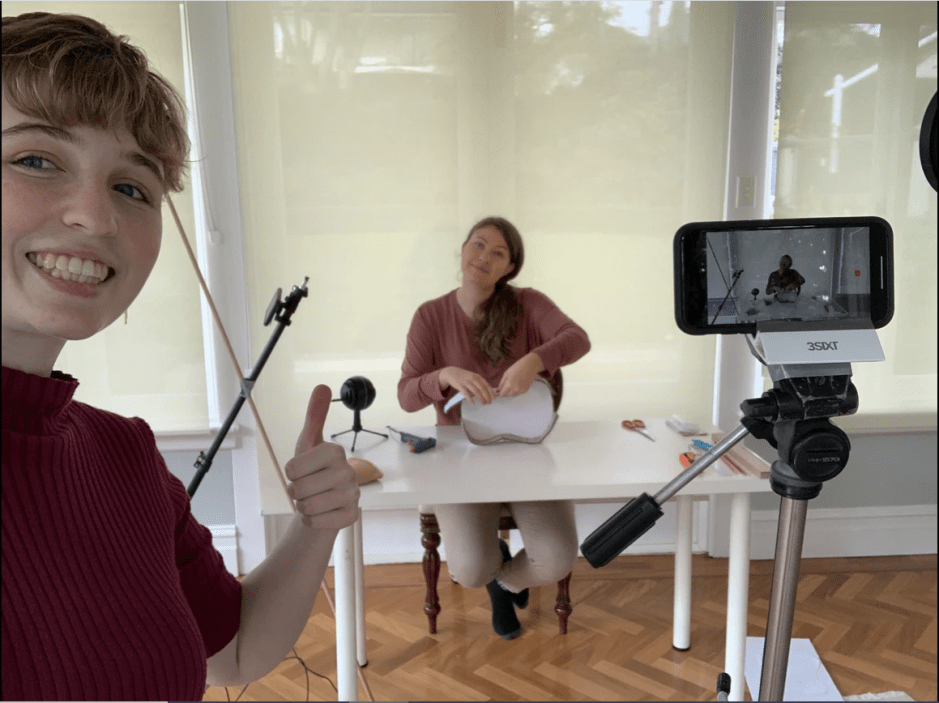
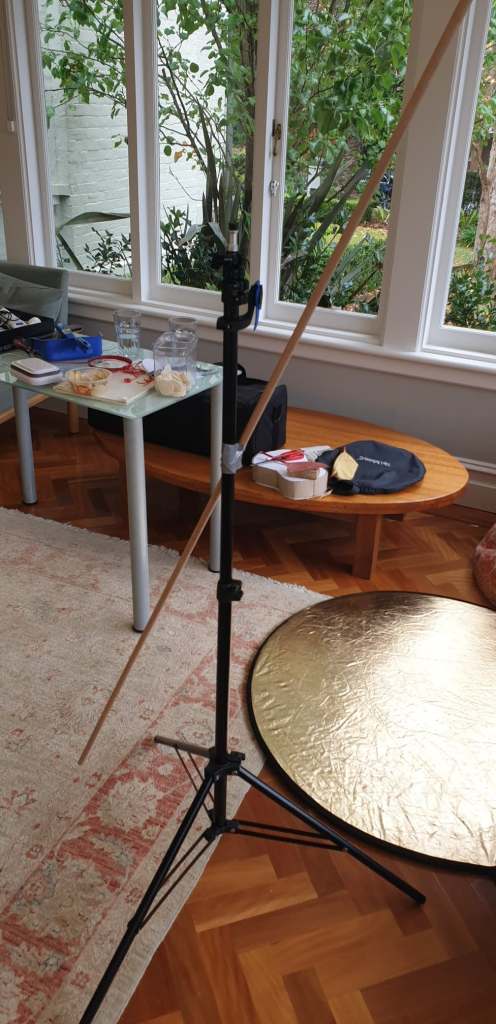
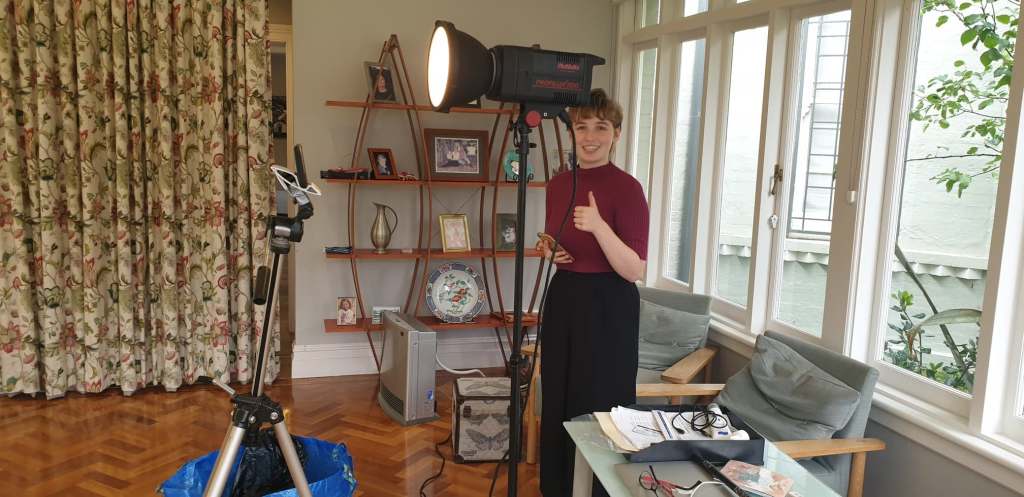
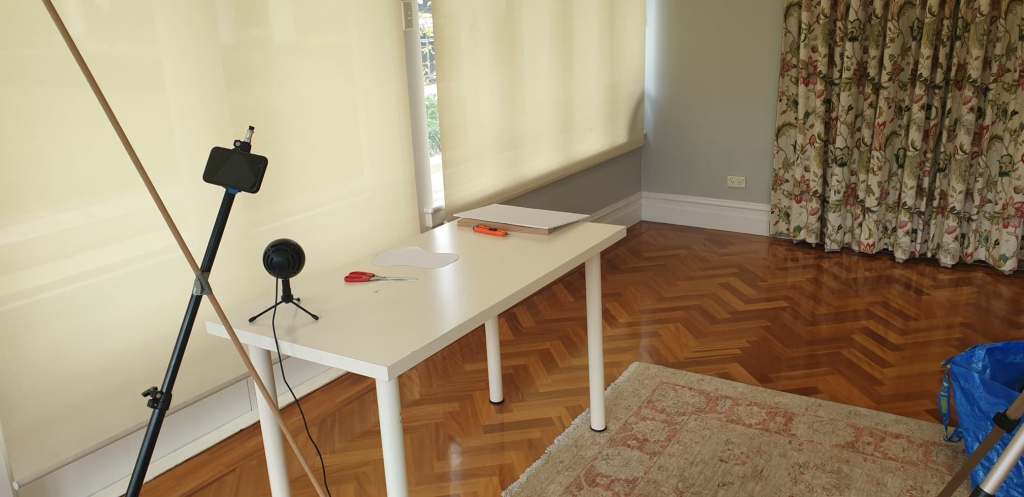
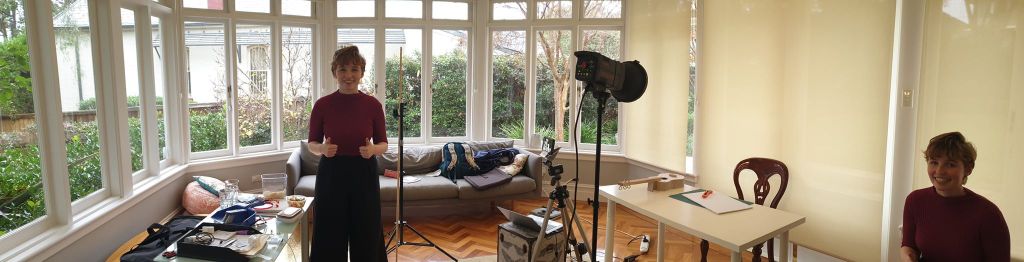
Lucy and I finally made plans to get together and try and do some filming for my ukulele tutorial video. She made sure to set up a room at her place just for the recording with all the necessary equipment. Even though we didn’t have proper recording cameras, we ended up using the newest Iphones which, in my uneducated opinion, did as good of a job! Lucy ended up putting up two tripods so we have a choice between two angles when shooting – one for full body and one for a close-up look. You can read more about the details behind the set-up on Lucy’s blog here!
One thing that I needed to do in terms of preparing for the shoot was cutting up all the pieces for the ukulele so I don’t have to do it while we’re recording. I thought it was really amusing that when I told Lucy about how worried I am for maybe not having enough time to prepare everything, she was wondering why would cutting up a few pieces take so long haha. Weeeell unfortunately there was quite a few, specifically, there was 72 pieces + 2 parts for the ukulele body that I needed to cut from cardboard and foamcore. And let me tell you, it really takes forever 😅. Thankfully, other assignments didn’t take too long to finish so I got to cutting. I also had to make sure to write out all the written instructions which would also serve as step-by-step process on how we were going to record it. After everything was ready and the necessary materials were prepared, I met Lucy at her place at about 9 am and we very quickly got to recording! However, we made sure to also set up a audio recorder so we can use it later on when editing the video. I used the trusty Blue Snowball microphone which has honestly been an amazing asset to many of my projects this semester! And we’ve used Soundtrap for the audio recorded. I used to be an Audacity girl but man, Soundtrap is so easy to use and the interface is incredibly user friendly. Who would’ve thought, all these skills we learned in TME actually came in handy 😁.
This is how the whole set-up ended up looking:
The whole recording process took about 5 hours which was incredibly fast considering that I was preparing for a 9 hour shoot haha 😅. To be fair, I’ve never had to be part of organising a recording session so I was preparing for the worst.
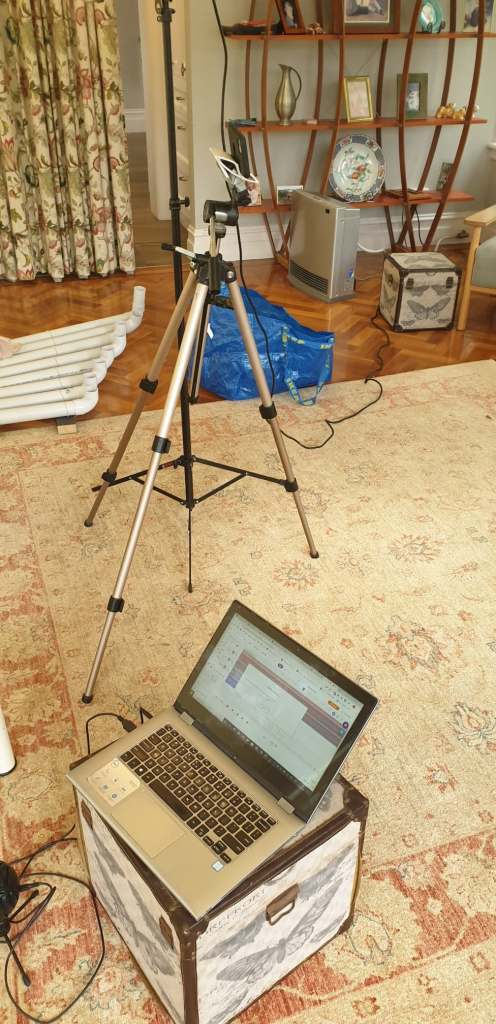
Once the recording was done, Lucy made sure to label each scene and then transfer it to a usb stick. This is where the fun part came – video editing (again, TME unit really did come in handy 😏). I decided to use Premiere Pro as it basically has everything you can imagine and University of Sydney was still letting us use the free cloud version. And I was planning on making use of the free stuff as much as possible. However, as I began recording, my poor little Dell Inspiron laptop couldn’t handle the extra data of HD videos and effects I was trying to apply to scene transitions that it became almost impossible to edit. Thankfully, my husband (coming to the rescue again!) has a proper computer so I made sure to thank him profusely and use it for a few days while trying to edit the videos. This is how my whole set up ended up looking (after about 3 hours of downloading Premiere Pro onto his computer 😅:
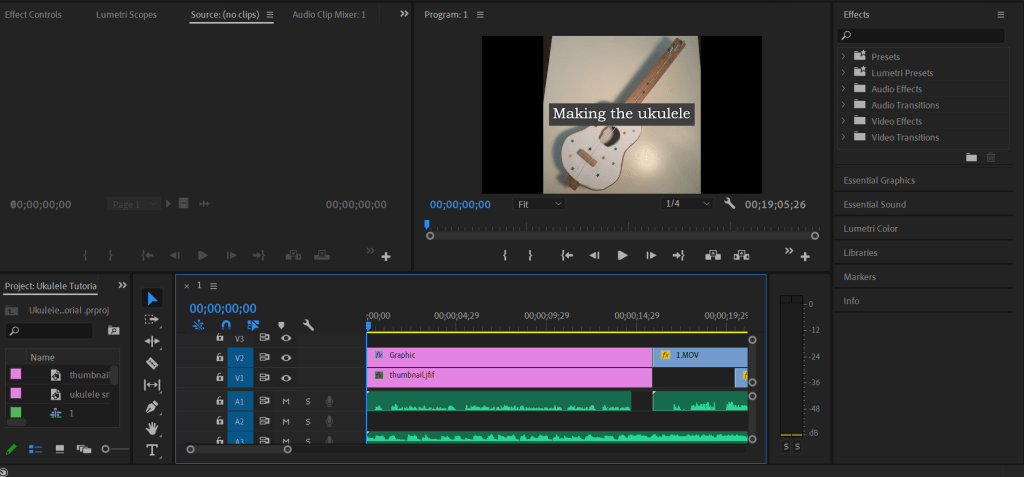
I’ve tried to expand on the few skills that James has taught us by utilising more graphics and some scene change effects. I also tried to put some background music and adjusting the volume on the spoken audio to be louder than the generic ukulele music playing throughout the video haha. However, the longest part of the editing was recording a voice over and trying to have it match with the footage in the video. This is why you can tell in the final product that I was speaking through the shoots. Unfortunately, Lucy and I had some problems with our audio files so I needed to make sure that the audio was sounding tight 👍.
Two days and many technological problems later, I finished my edit and managed to upload it to Youtube relatively quickly (thank you NBN!). This is how the final product looks:
And that is the summary of all the behind the scene things that happened in order for the website to go live! It was a long process and it took a lot to get it organised but thankfully it all came out well in the end! 😊😊😊😊

One thought on “Behind the scene”